Sea Harrier Build: Harry Leith
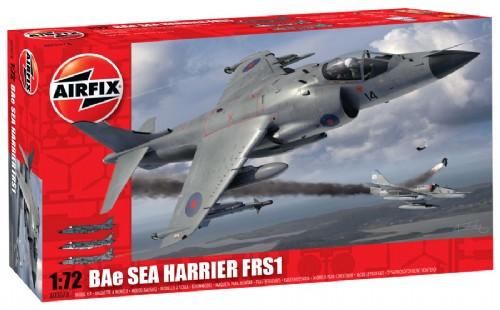
The Kit
This kit is a new tool from Airfix. It has three parts sprues and a sprue of clear plastic for the two-part canopy. The parts are well formed with little flash, but the styrene is very soft and pliable - almost like toy plastic than the usual stiffer kit styrene. This means it is easy to work, but also easier to break and bend. I suggest you take care working with it, as I managed to break one of the fins on one of the Sea Eagles while working on another part.
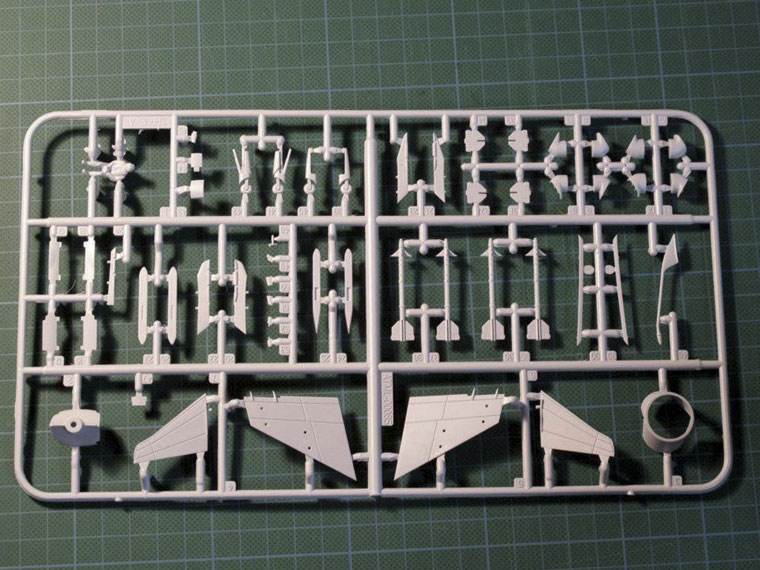
Sprue A: Wing undersides, tailplanes and the underwing stores. Look at those lovely panel lines!
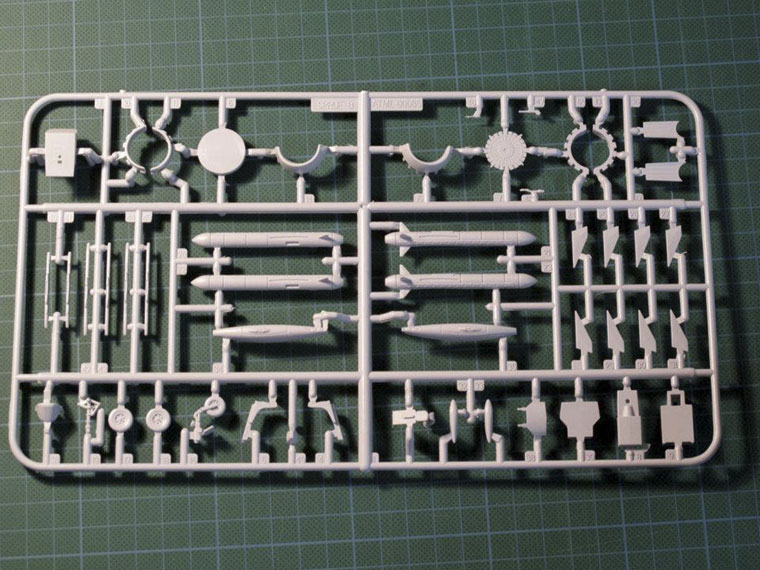
Sprue B: Cockpit, wheels, intake nozzles and Sea Eagle anti-ship missiles.
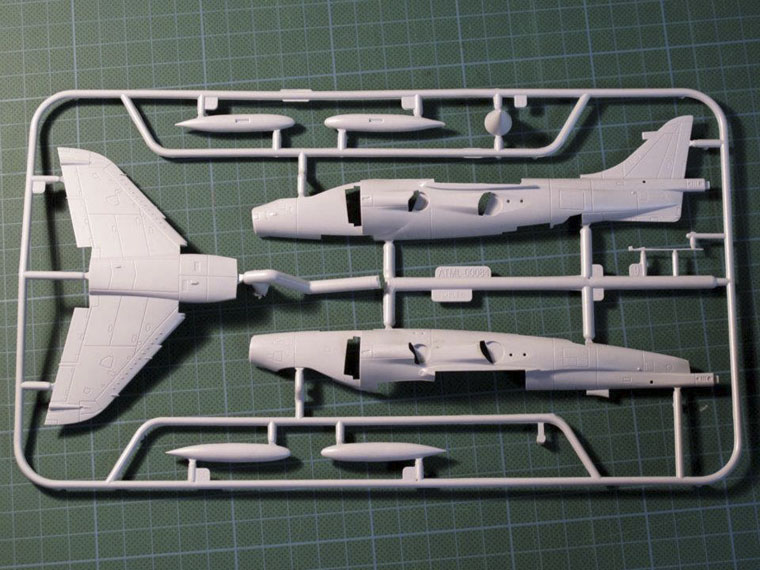
Sprue C: Main fuselage sections, wings and nose.
The Build
I have finally started my Sea Harrier build. The rumour online was the cockpit tub was too broad to allow the two fuselage halves to close properly. I dry fitted mine and it seemed OK.
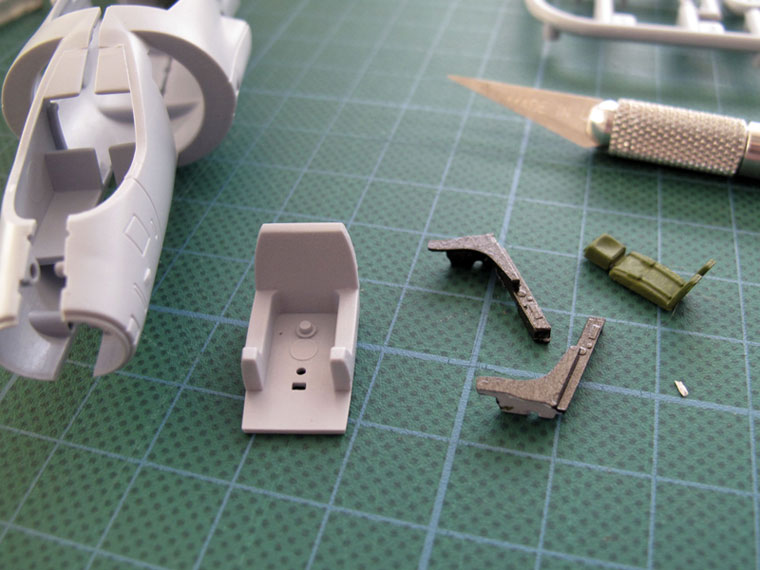
I painted the Martin-Baker Mk9 ejector seat cushion green and the frame gun-metal. The gun-metal paint is a bit grainy - but it is nearly 30 years old, so I guess you can't be too surprised! The next step will be to paint the interior of the fuselage and cockpit tub light grey and assemble the seat.
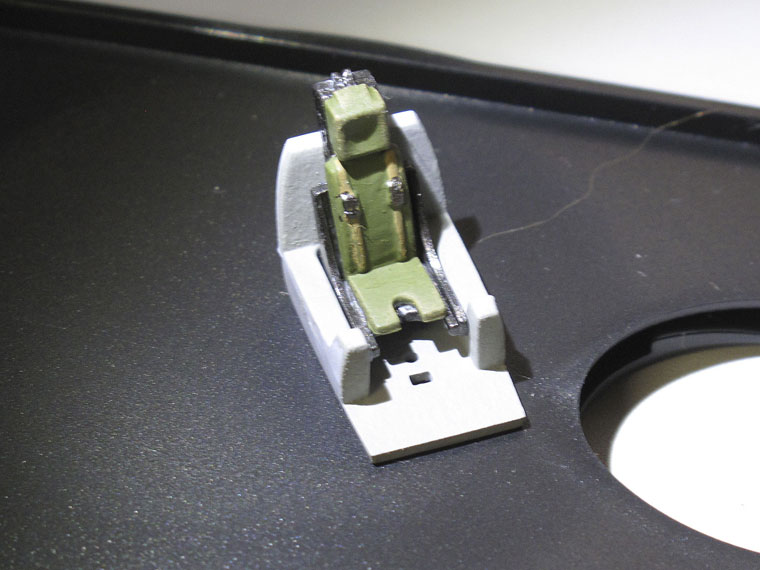
The seat is assembled and painted. It looks OK, but my eyes aren't what they used to be 30 years ago and some of the painting is a bit ragged. I had to go out and buy a magnifying glass - the ravages of old age!
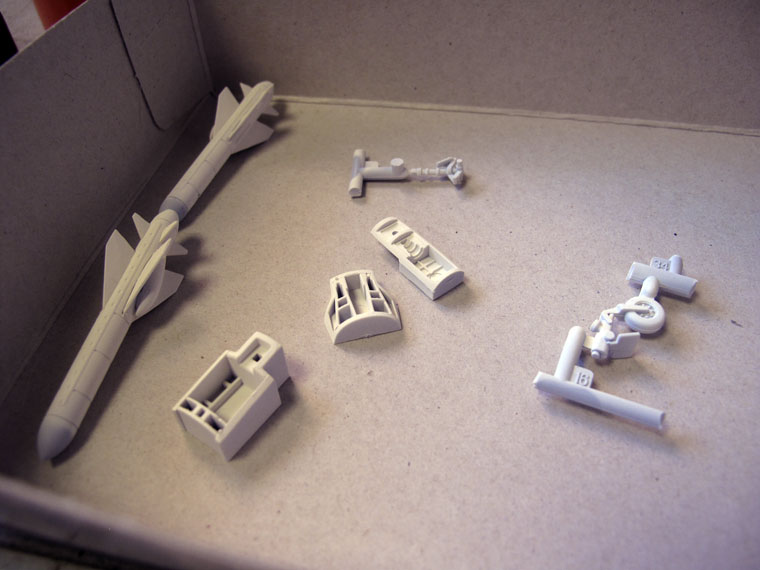
Next I assembled the Sea Eagle anti-ship missiles. All the larger wing surfaces (8 in total) are supplied as separate parts which have to be glued to the cylindrical missile body. Unfortunately the sprue joins are all on exposed wing surfaces, not hidden underneath where the wing joins the missile body. Combined with the very soft styrene used for this kit it meant fiddly re-sculpting all these surfaces. Frankly I thought lining up all the wings when glueing the missiles together would be more of an issue, but it is relatively easy to line them up with the smaller wings on the missile body.
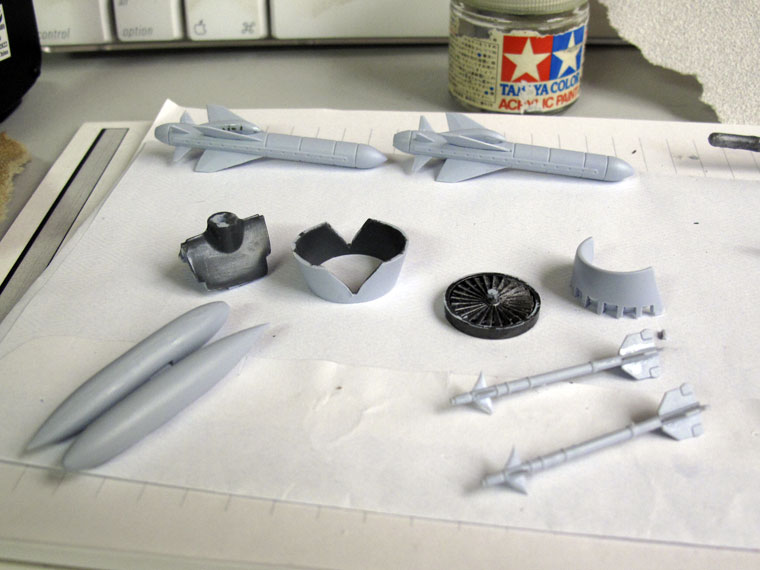
A number of sub-assemblies are completed here. The (incorrectly shaped) drop tanks, the (fiddly to assemble) AIM-9L Sidewinder missile and the engine intake area.
The engine fans have been painted gun metal, then dry-brushed flat aluminium to bring out the highlights.
The Humbrol 123 Extra Dark Sea Grey paint on the inside of the intakes is pretty dark, causing me some concern. "Scale effect" makes scale models appear darker that their real counterparts, anyway, and I am concerned this will just end up looking all too dark.
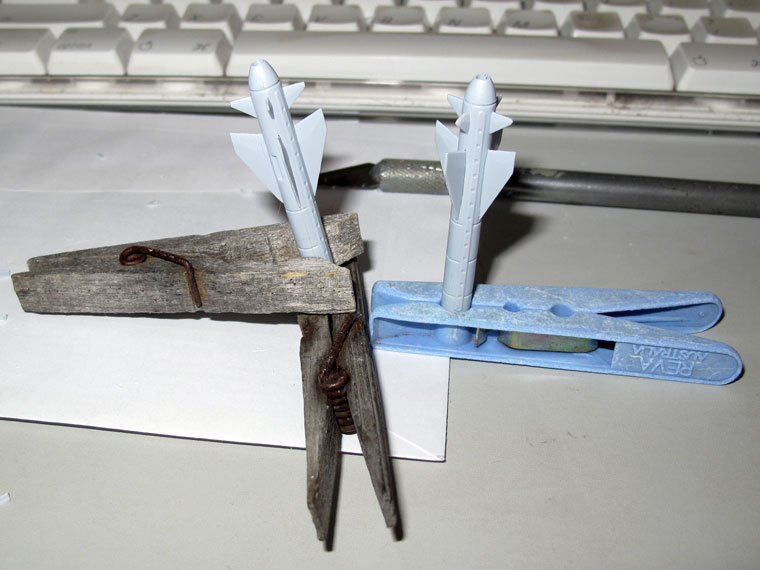
The Sidewinder missiles have two fixed tail fins, with the other two moulded separately and needing to slide through. Of course the hole was too small, so I spent a long time rubbing with sandpaper to enlarge the hole to get a good fit. luckily they supply four Sidewinders in the kit, as I buggered one.
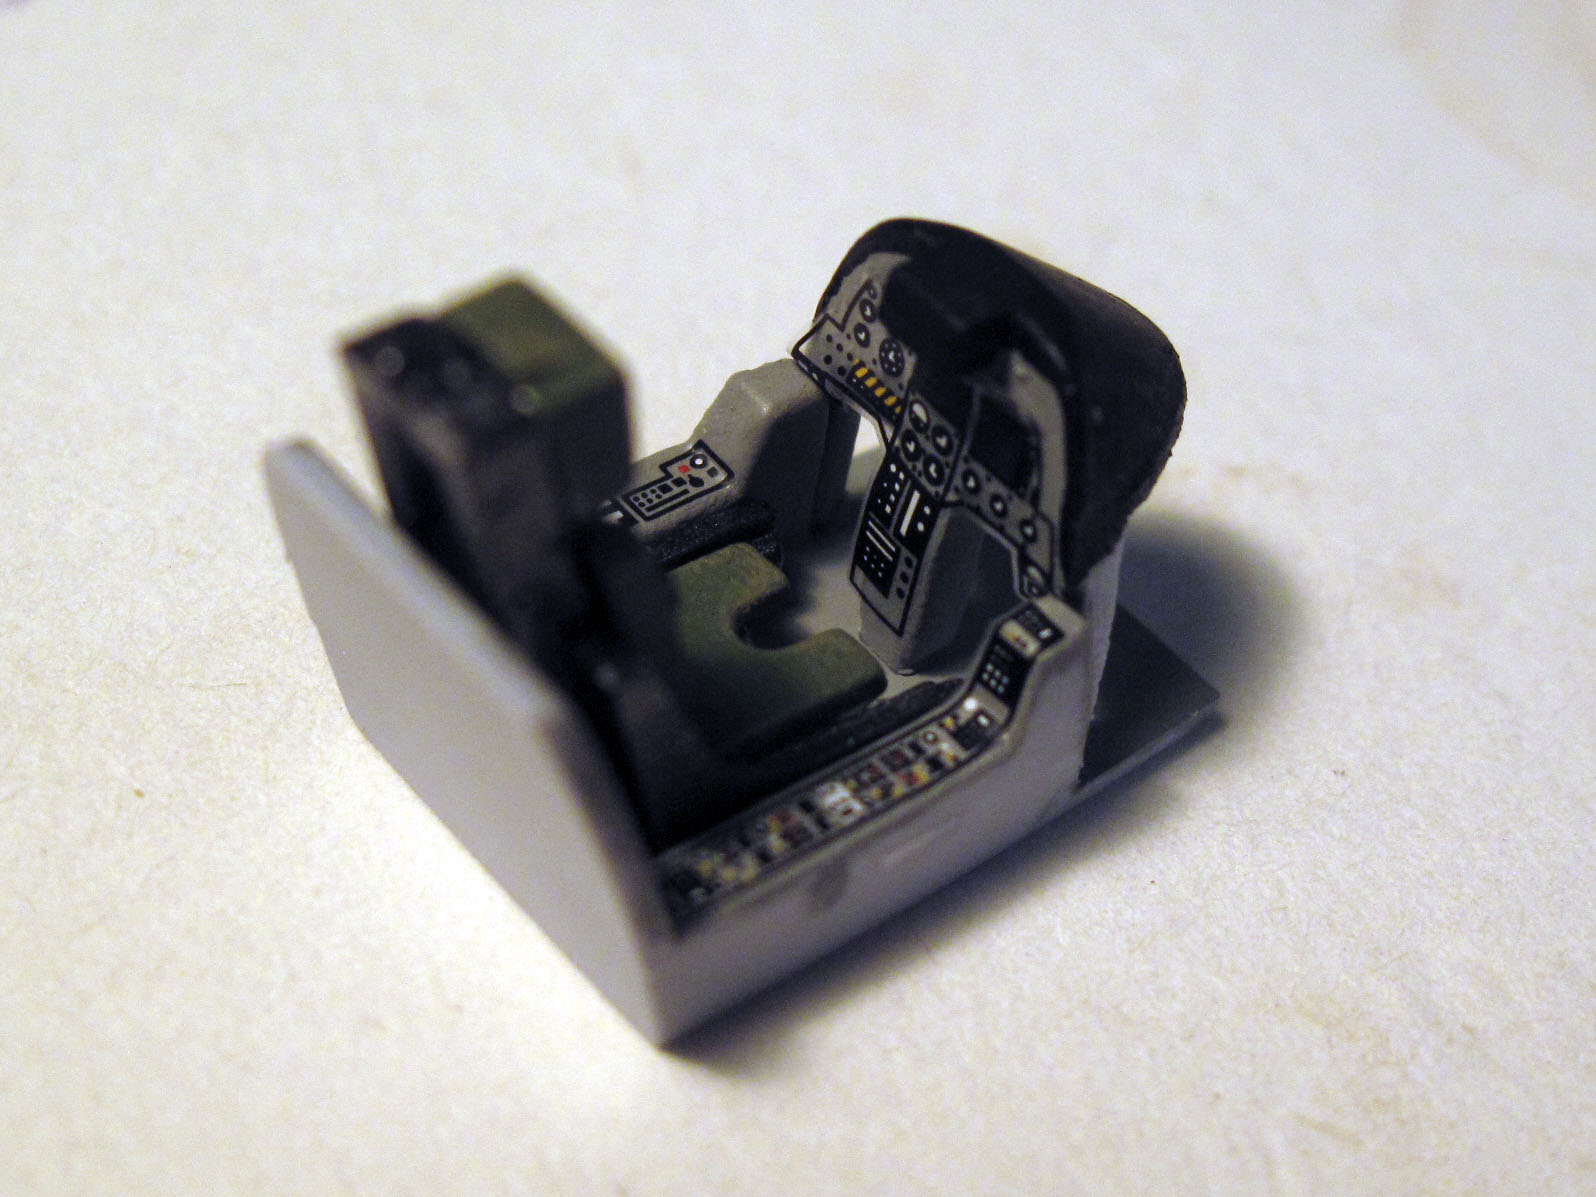
Here is the cockpit with the decal instruments added - somewhat wonky but looks OK.
I sprayed the Sea Eagle Missiles, wheel wells and landing gear matt white. This was the first outing for the airbrush and I was quite pleased. The very even paint coat shows up ANY flaws, and collected some dust. It was also difficult to get an even coating overall, but it is looking pretty good!
<<< Back to the Main Challenge Page